Creating & Editing
Creating a recipe and editing a recipe both happen using the same interface and generally act very similarly to each other.
Creating a new recipe
The create recipe page can be reached from the 📖 my recipes page by clicking the blue + button in the bottom right corner, as well as via the sidemenu.
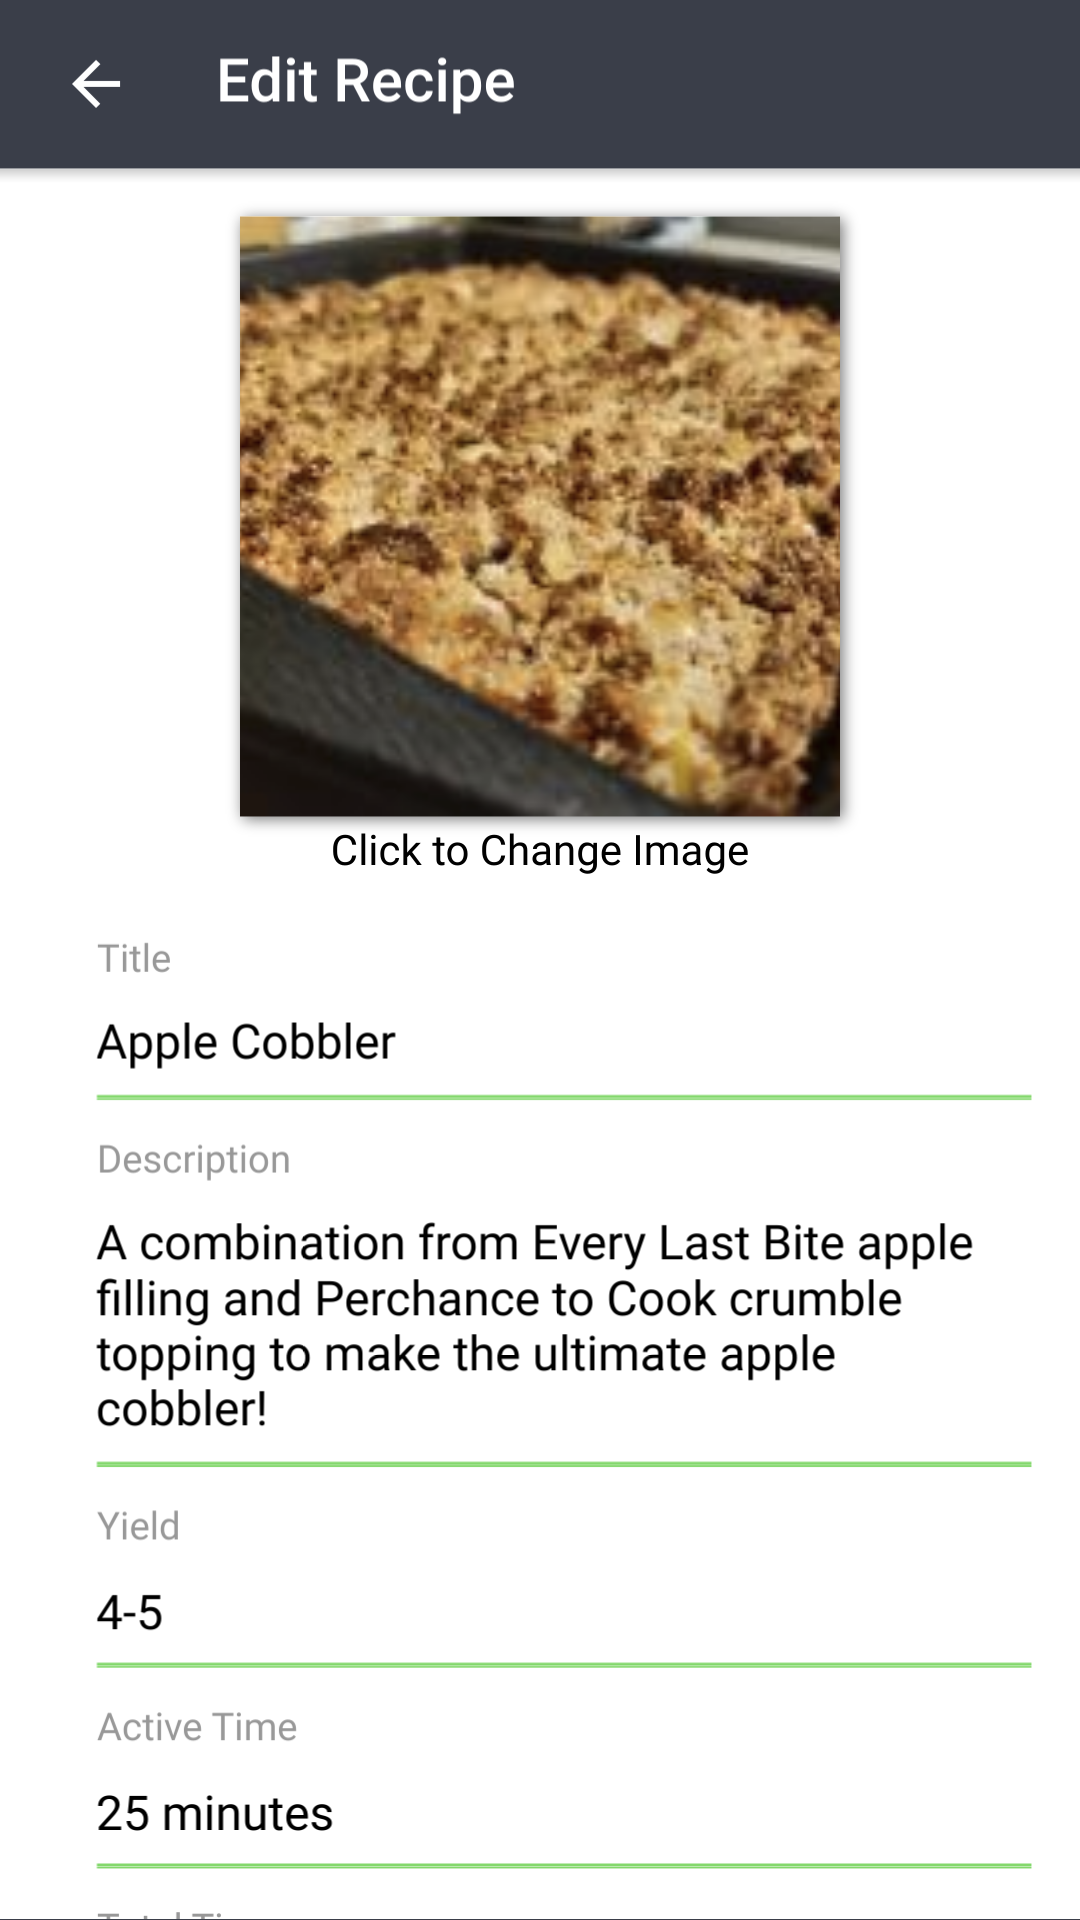
Fill in the corresponding fields as you wish - only the title is required. After you're done, click the save button and it will be added to your collection.
To add an image to your recipe, click the image holder at the top. Your browser will prompt you to select a file. If the 📖 multiple images per recipe feature is enabled, you can add up to 10 images per recipe. Images will be automatically resized to the proper dimensions. The 📖 high resolution images feature will keep your recipe in high resolution while doing so.
For special formatting in the ingredients, instructions, or notes fields please see the 📖 formatting section below.
You can add or remove labels from the recipe on this page. The documentation for creating labels is 📖 here.
Autofill from URL
Importing by URL makes it easy to import almost any site into your recipe edit flow automatically.
To import a recipe from URL, open the 📖 create new recipe page (not available while editing an existing recipe), and click the "Autofill Recipe From" button. Then, click the "Autofill from URL" option and paste in a URL to a recipe.
Known limitations:
- The target URL must contain only a single recipe. If it contains more than one, you'll get a random one of the recipes on the page or potentially a combination of multiple.
- Most sites will work, but some sites block the importer purposefully. Because of this, some sites will not work. You can get around sites with this limitation using the 📖 browser extension.
Autofill from Text
Importing from text makes it easy to import from a copied block of text. The text doesn't have to have any particular format, as long as it contains a recipe at some point. The RecipeSage AI will take care of formatting it into the appropriate fields.
To autofill a recipe from a block of text, open the 📖 create new recipe page (not available while editing an existing recipe), and click the "Autofill Recipe From" button. Then, click the "Autofill from Text" option and paste in a URL to a recipe.
Known limitations:
- You can only import a single recipe at a time.
Scan from Photo
You can take a photo of a recipe either in print form, or handwritten. RecipeSage will recognize any text it can see in the photo, and try to fill in the associated fields on your recipe.
To use this, open the 📖 new recipe page (not available while editing an existing recipe) and click the "Autofill Recipe From" button, then the "Scan from Photo" option. On mobile devices, you'll be prompted to choose whether to take a photo, or whether to select an existing one. On desktop, you'll just see a file dialogue where you can select an image file.
If taking a photo with your camera, it's recommended to have good lighting, and have the text in the photo be as square as possible. Screenshots also work great.
This feature is also particularly useful for importing from other apps on your phone, such as Facebook or Instagram. You can take a screenshot of the recipe as seen in the other app, and use this feature to scan the photo into RecipeSage.
Known limitations:
- Good lighting is really important to get a good quality output
- This is intended to speed up the process of entering a recipe, but will never be flawless. Please check the result, since the result can often contain inaccuracies.
- You can only scan a single recipe at a time.
Scan from PDF
Importing from PDF makes it easy to import recipes from almost any arbitrary source. The PDF doesn't have to have any particular format, as long as it contains a recipe within the first 2 pages. The RecipeSage AI will take care of formatting it into the appropriate fields.
To autofill a recipe from a PDF, open the 📖 create new recipe page (not available while editing an existing recipe), and click the "Autofill Recipe From" button. Then, click the "Scan from PDF" option. You'll be prompted to select a PDF file.
Known limitations:
- Only the first two pages of the PDF will be scanned for a recipe
- You can only scan a single recipe at a time.
Editing a recipe
The edit recipe page can be reached from the 📖 recipe details page by clicking the edit button at the bottom of the page, or by clicking the edit button in the top right options menu.
The options and interface are the same here as described in the 📖 creating a new recipe section.
Formatting
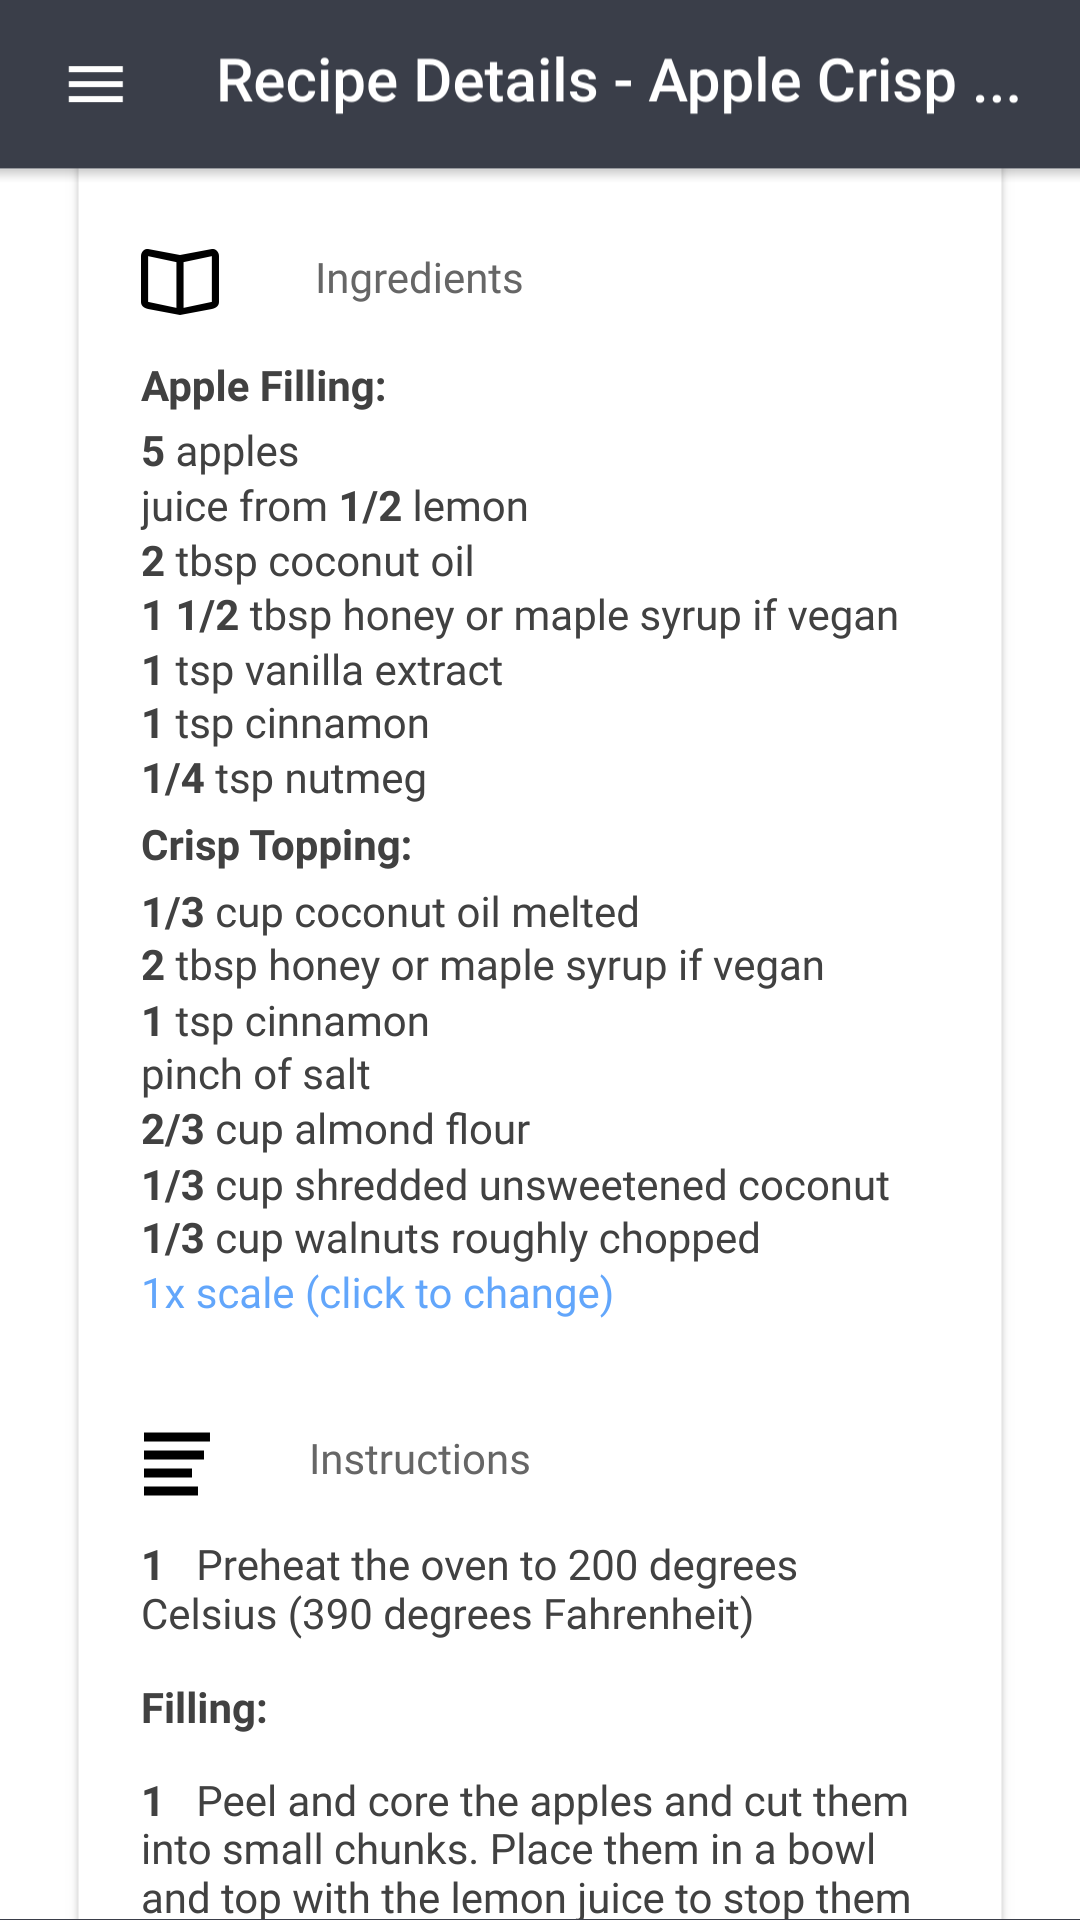
Ingredients are divided by linebreaks, so have one per carriage return. Ingredient measurements will be automatically parsed, but as a general rule, use the format: 1 1/2 cup. For a range, use the format: 1 to 2 cups. This will help the scaling feature recognize your quantities as best as possible
Instructions are divided by linebreaks as well, so put each step on a different carriage return. Make sure not to have extra carriage returns in-between!
To add a header to your instructions or ingredients, put an open and close bracket at the ends of the line like this:
[The dough:]
1/2 cup water
[The sauce:]
1/8 cup sugar
To make numbers inside the recipe instruction scale along with the recipe scale setting, wrap the number in curly braces as follows:
Add {500} ml milk, and whisk in {2} eggs.
Add {1 1/2} packet of vanilla sugar.
Linking recipes
You can link recipes by adding to the notes field. Any URL in the notes field will be clickable, so feel free to add links between relevant recipes.
Limits
There are no currently enforced recipe limits, however RecipeSage reserves the right to take action against abuse. There are many users with more than 40,000 recipes in their account, which equates to 109 years of cooking if you cook one recipe a day. In other words, you should not be concerned with any recipe count limit.
Multiple images per recipe are supported, but do require active "contributor rewards". This is due to images being very costly to host, and the app being free. Contributors can add up to 10 images per recipe.