Recipe Details
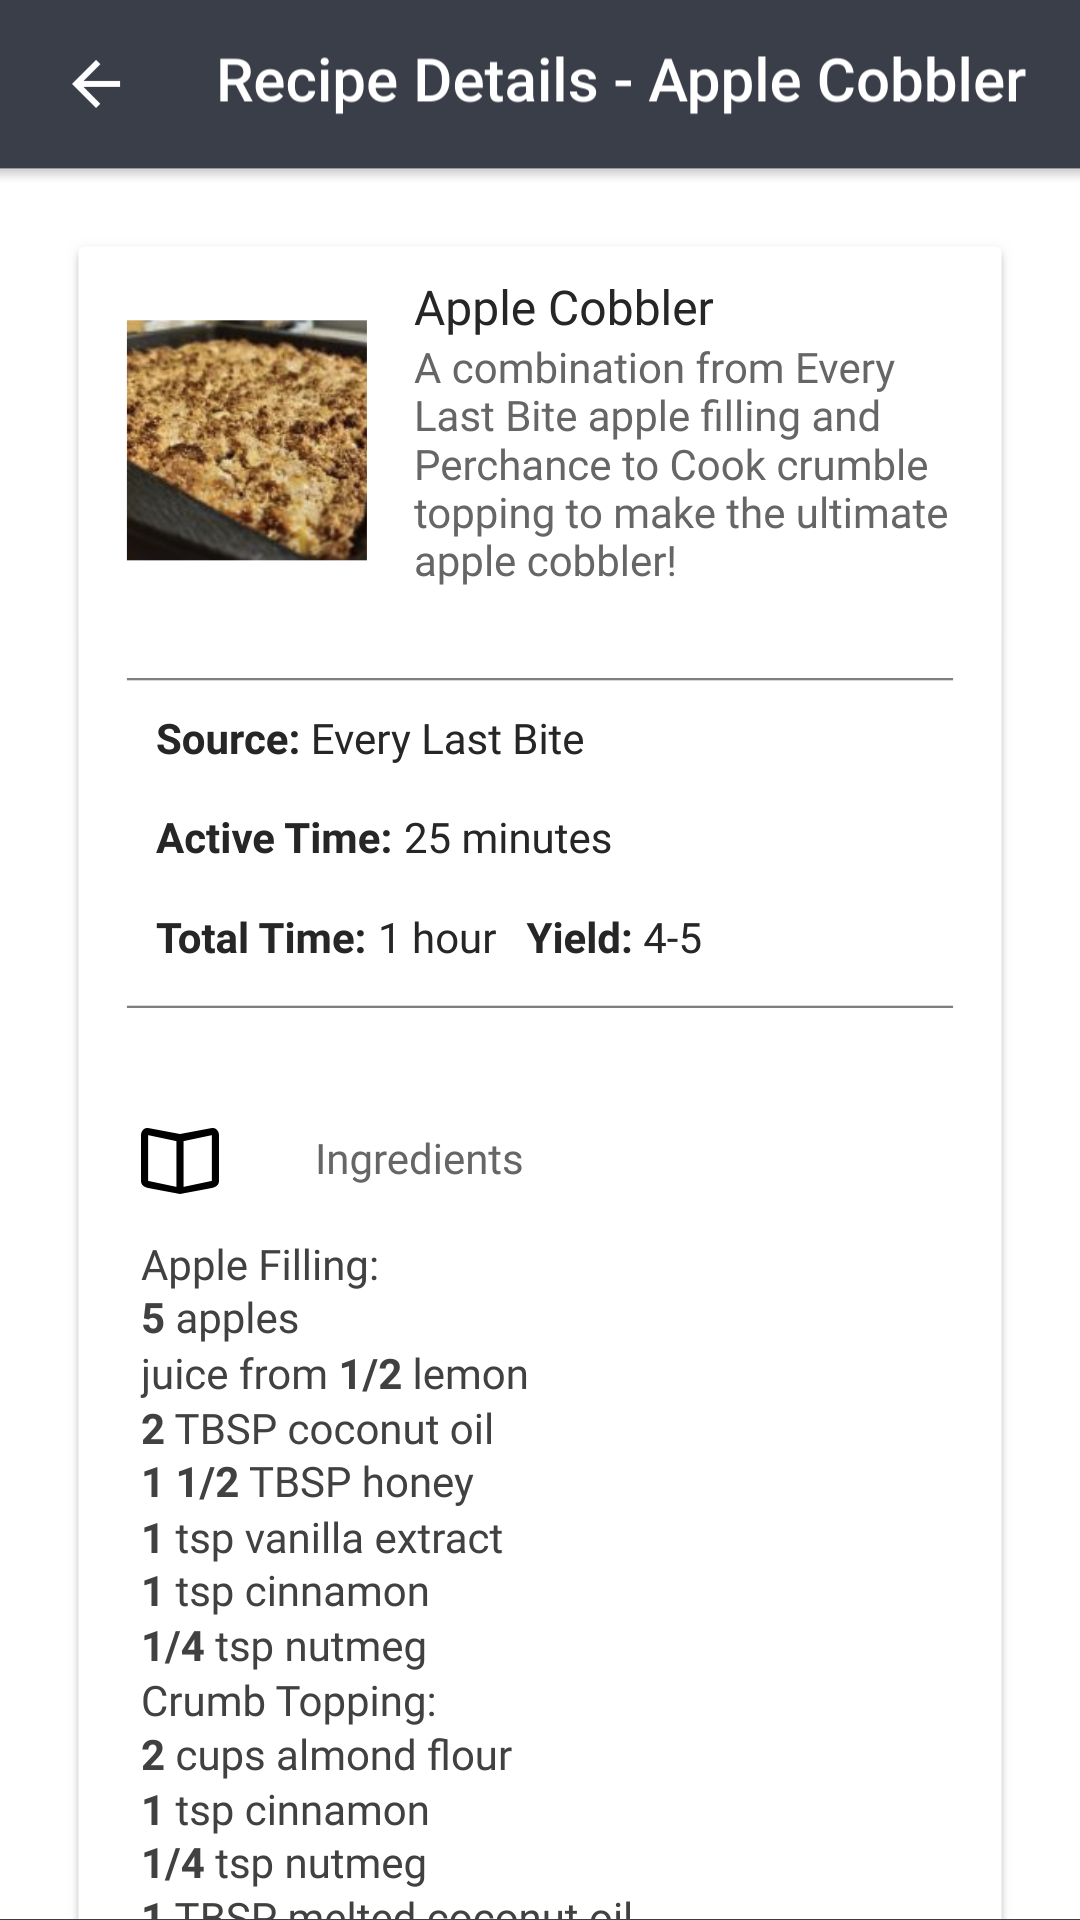
This page is the detailed view for a single recipe. All of the information for the selected recipe is printed here, as well as buttons for various actions.
The page layout will change based on the screen size of the device you're browsing on so that it's always optimized. For the best experience, we suggest having a device large enough to where the ingredients and instructions are shown side-by-side.
Scaling
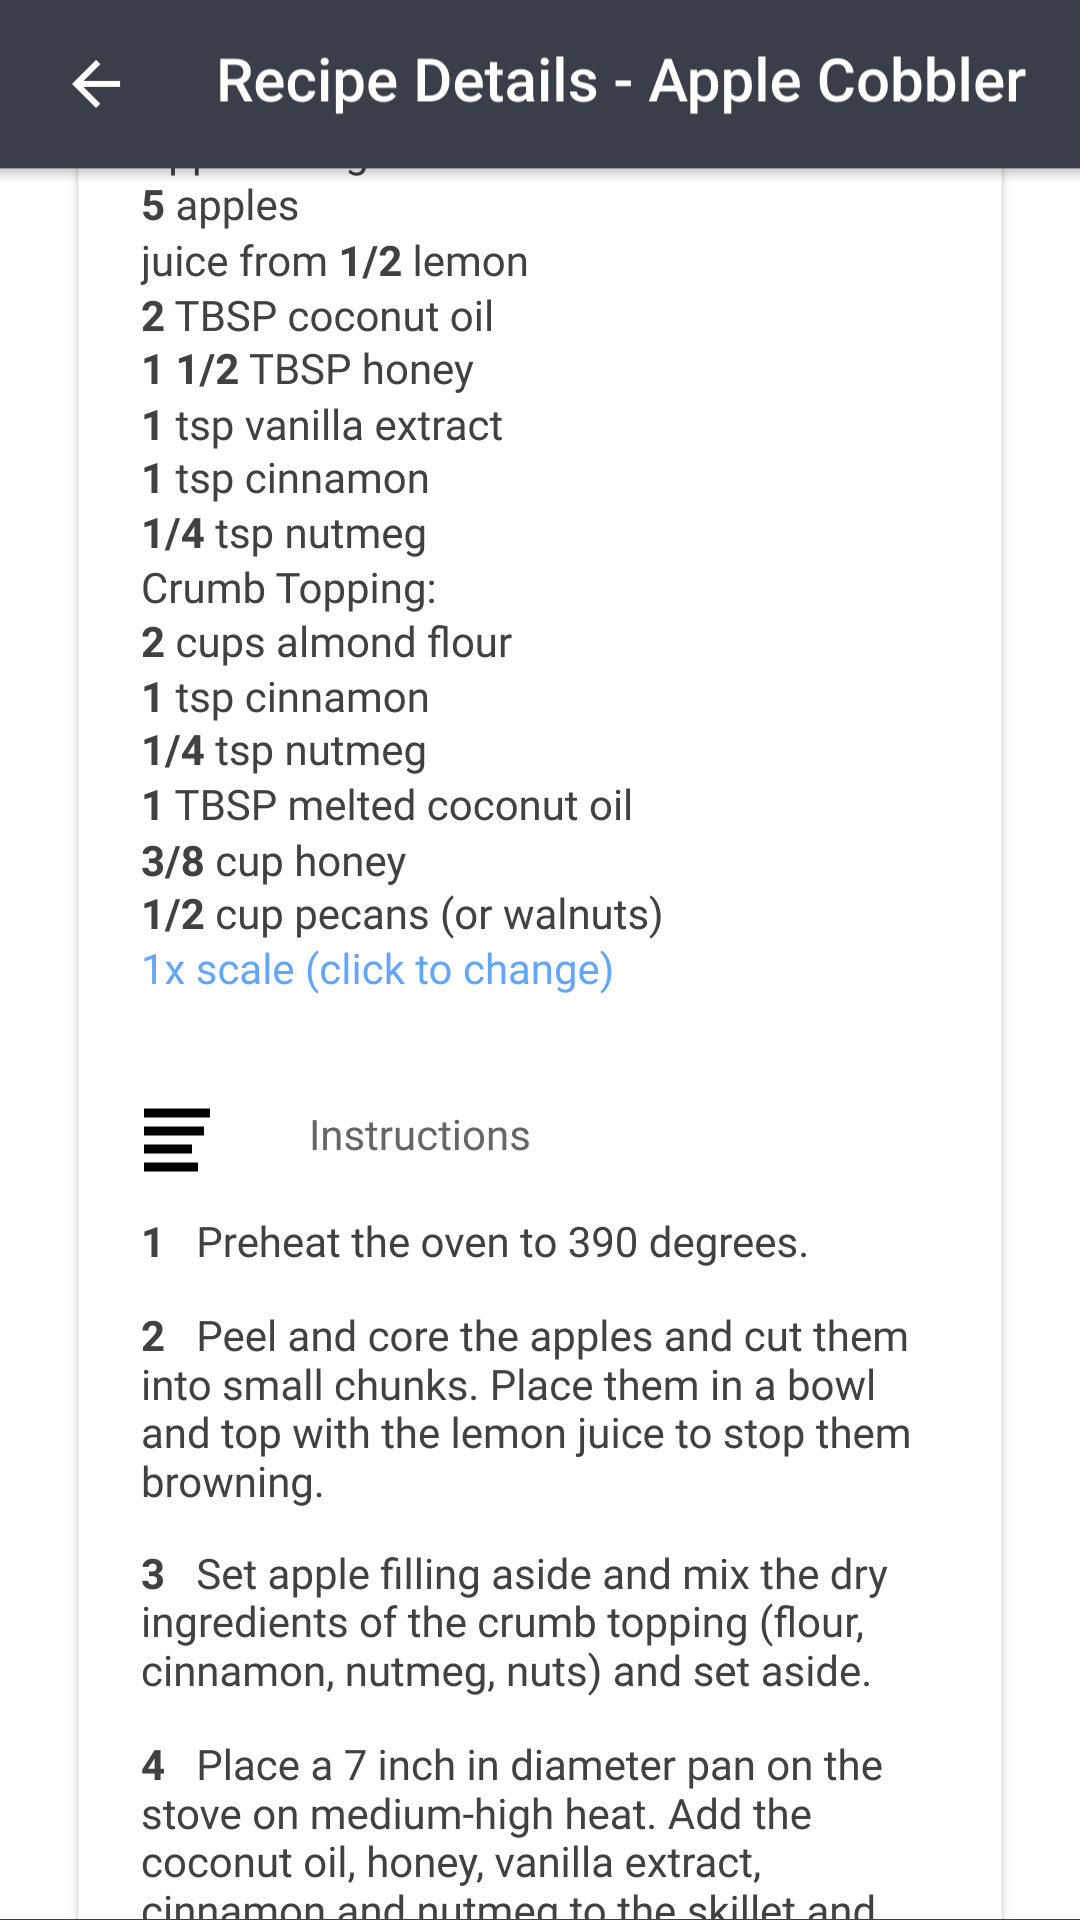
Click the scale link to choose a different recipe scale. A dialogue will pop up for the recipe scale. Enter a number or a fraction and the ingredient quantities (shown in bold) will adjust.
Keep in mind that any measurements that are not shown in bold aren't recognized and won't be scaled.
Values entered into the scale field are not permanent. Once you close this recipe, the scale will default back to the scale entered in the recipe editor.
Converting Between Metric and Imperial
The 📖 scale dialogue also has a Units toggle with three options:
- Original: keep each ingredient in the units the author wrote it in
- Metric: convert imperial measurements to metric (e.g.
1 cup→240 ml) - Imperial: convert metric measurements to imperial (e.g.
500 g→~1 lb 1 3/4 oz)
To change units, open the scale dialogue from the recipe details page (click the scale link near the top of the recipe) and select a unit system from the Units toggle.
The conversion is applied to both the ingredients list and to any measurement-style {} placeholders within the instructions (for example, {236ml} or {2 cups}). Measurements that can't be cleanly converted will keep their original unit.
Smart Unit Switching
When 📖 scaling a recipe, RecipeSage will automatically switch to a more natural unit if a scaled amount doesn't land on a clean cooking fraction. For example, scaling 1 cup by 1/16 displays as 3 tsp instead of 1/16 cup. When a perfectly clean result isn't possible, the result is prefixed with ~ to indicate an approximation.
This applies regardless of the Units setting in the 📖 scale dialogue.
Nutrition
If the recipe has any nutrition fields filled in, a Nutrition (per serving) section is displayed on the recipe details page. It shows the serving size (when set), calories, macros (with total fat broken into saturated, trans, polyunsaturated, and monounsaturated), and the vitamins/minerals RecipeSage tracks. Anything recorded in the free-form "Other Nutrition Details" field is shown below the structured values. Fields that were left blank in the recipe editor are hidden.
RecipeSage also reads and writes nutrition fields via schema.org/NutritionInformation when importing or exporting JSON-LD, and when clipping a recipe URL that publishes structured nutrition in its page markup.
See 📖 Nutrition for how to fill these fields in, including autofilling from pasted nutrition text.
Labelling
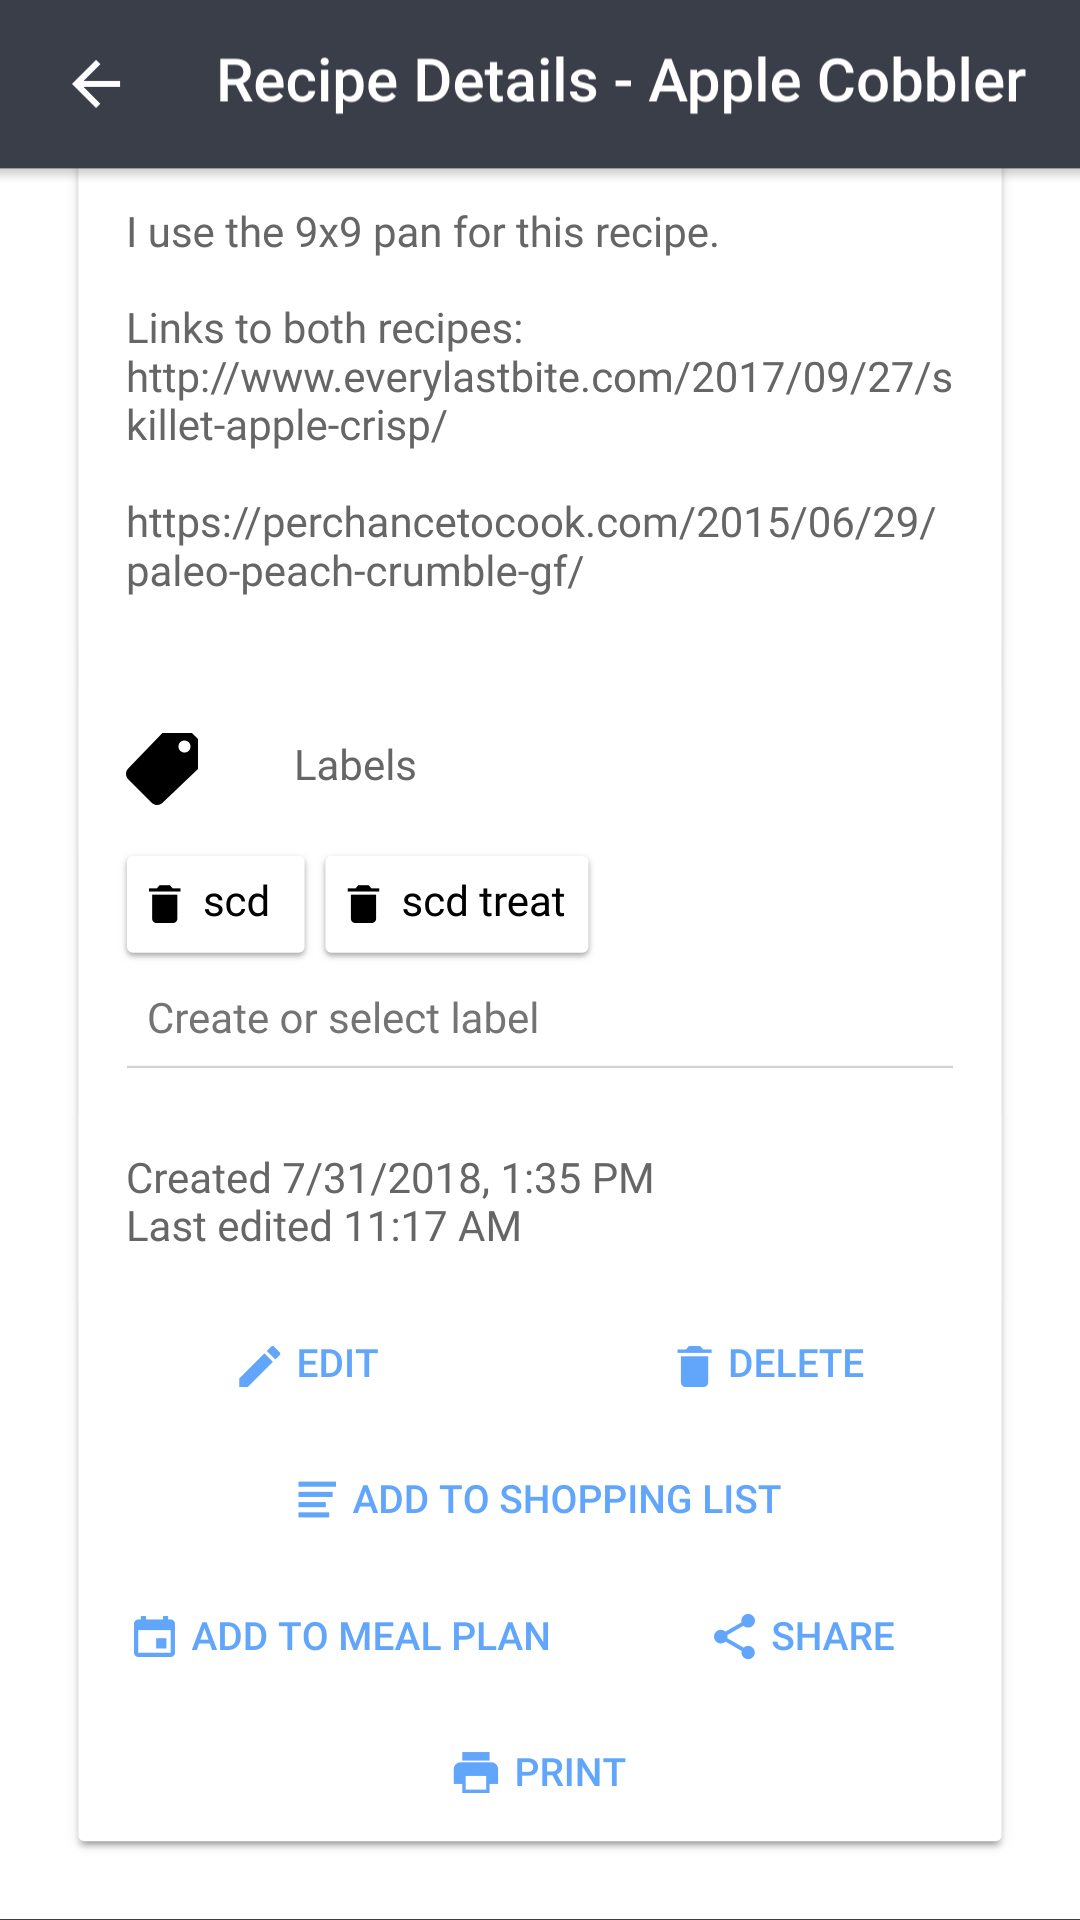
Labels are an excellent way of organizing your recipes. Think of labels as folders, but where a single recipe can be in multiple folders!
To add a label to a recipe, enter the label name in the field below the labels header as shown above, and press enter to save.
Suggestions will be shown below the field as you type - they will be filtered as you type your label name. You can click a suggestion to automatically add that label. To remove a label, just click the trash can icon.
You can filter by labels on the my recipes page to see only recipes in a certain label.
Actions
At the bottom of the recipe details page there are buttons for various recipe actions. Here is a brief summary of each of the actions and their corresponding description:
Edit
This button will take you to the editing/authoring page for this recipe, allowing you to change details about this recipe such as instructions and ingredients.
Delete
This button will start the process of deleting this recipe permanently. Don't worry, you'll be prompted before the recipe is deleted. Confirming the deletion dialogue will completely and permanently remove the recipe from the system.
Add to shopping list
This button will open the add to shopping list dialogue for this recipe.
Add to meal plan
This button will open the add to meal plan dialogue for this recipe.
Share
This button will open the share dialogue for this recipe, allowing you to send this recipe to another RecipeSage user.
Add to Shopping List
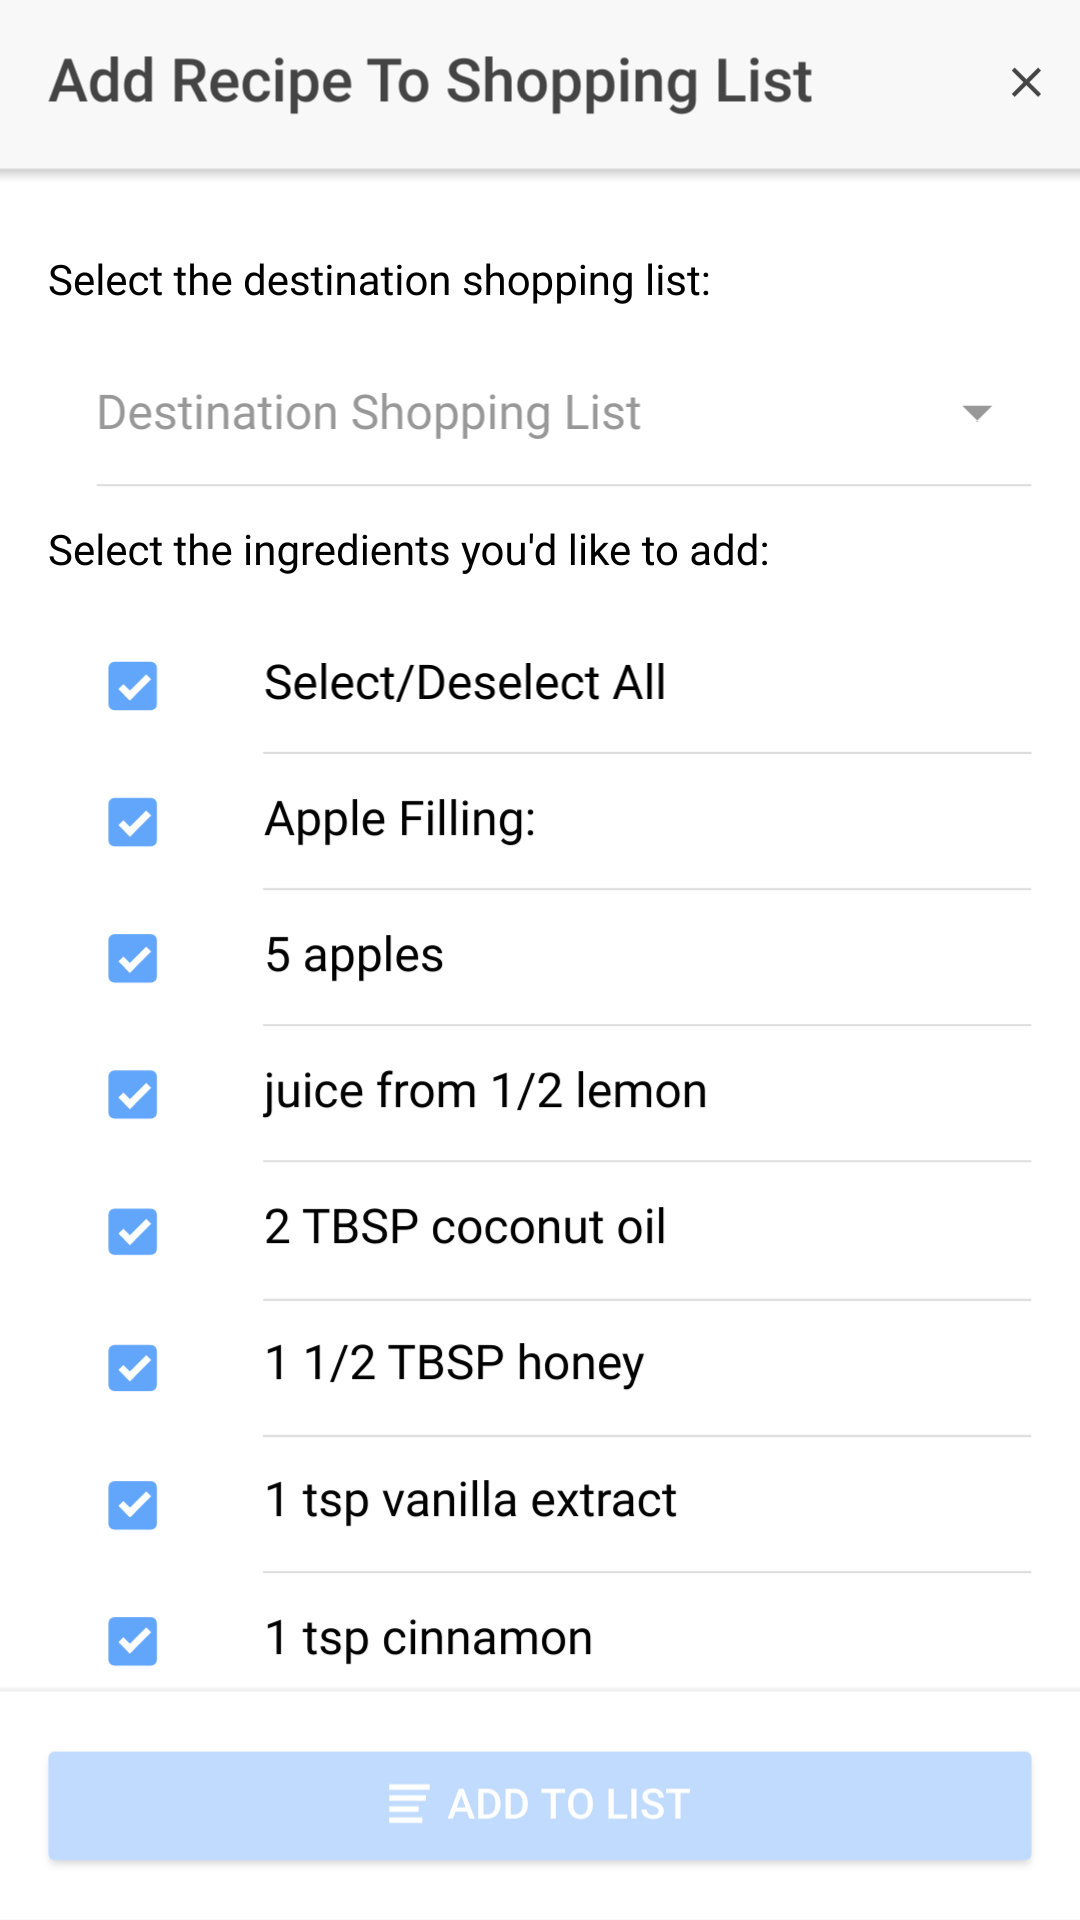
Shopping lists are a great way of keeping track of ingredients and items that you need from the store. Check out the shopping list tutorial to see how to use the various shopping list pages.
To begin the process of adding a recipe to a shopping list, press the add to shopping list button at the bottom of the recipe details page (as described in the recipe actions tutorial). You'll then be presented with the add to shopping list modal shown in the image above.
Select the list you'd like to add to by clicking the dropdown selector at the top of the modal. Then, select/deselect the ingredients that you'd like to add to the list. The select/deselect all button will toggle all of the ingredients.
Note: To use the add to shopping list modal your recipe will need to have some ingredients, and you'll need to have at least one shopping list in your account.
Add to Meal Plan
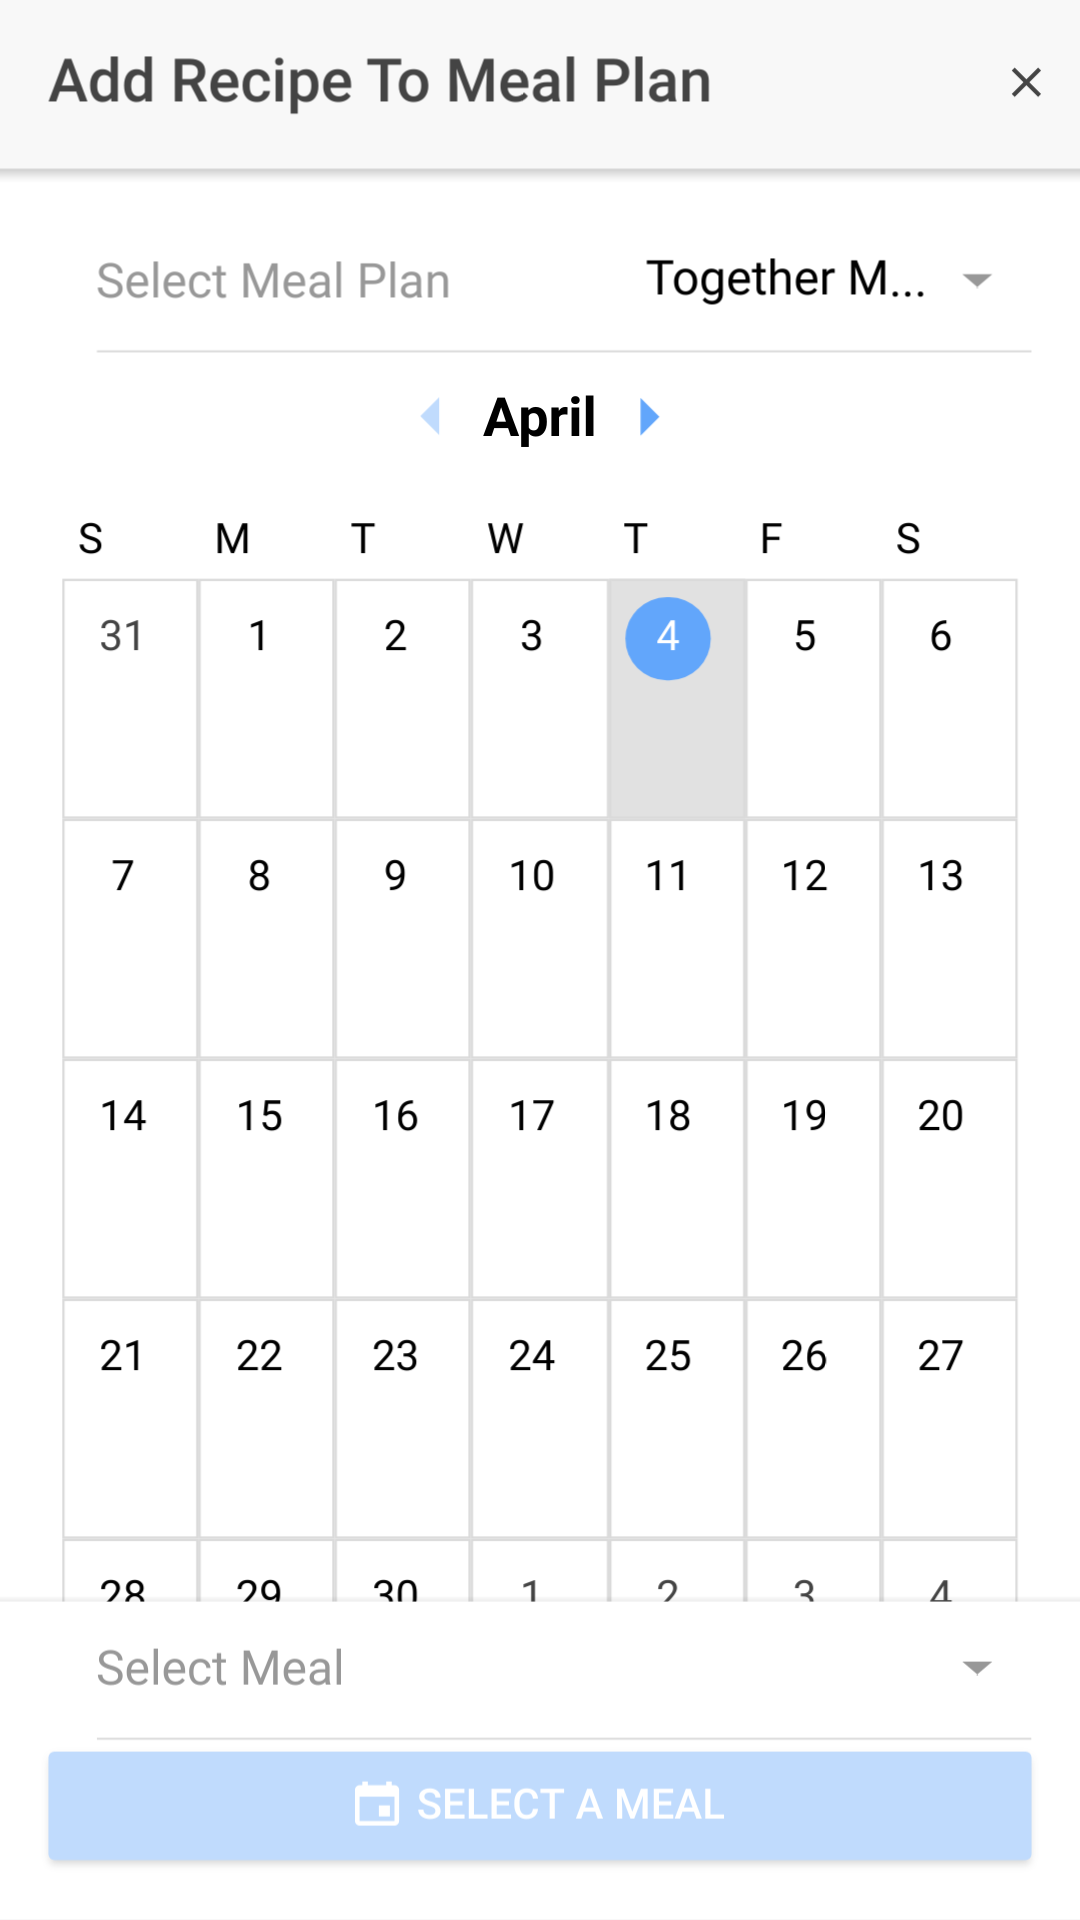
Meal plans are a great way of keeping track of which recipes you're going to cook on what day. Check out the meal plan tutorial to see how to use the various meal plan pages.
To begin the process of adding a recipe to a meal plan, press the add to meal plan button at the bottom of the recipe details page (as described in the recipe actions tutorial). You'll then be presented with the add to meal plan modal shown in the image above.
Select the meal plan you'd like to add to by clicking the dropdown selector at the top of the modal. Then, click the day that you'd like to add the recipe to in the interactive calendar. To switch months, click the arrows next to the month name at the top of the calendar.
Lastly, select the meal that you'd like to designate for this recipe by clicking the dropdown selector at the bottom of the page.
Note: To use the add to meal plan modal you'll need to have at least one meal plan in your account.
Sharing
To share a recipe, open the recipe details page and click the share button in the top right corner options menu.
Note: If you're looking for ways to share more than just a single recipe, see the 📖 sharing documentation.
There are three options for sharing a recipe:
- Directly within the app to a RecipeSage user
- By creating a shareable link and sharing outside of the RecipeSage app
- By embedding it into a website
- Adding the recipe to your RecipeSage profile 📖 covered here
To a RecipeSage User
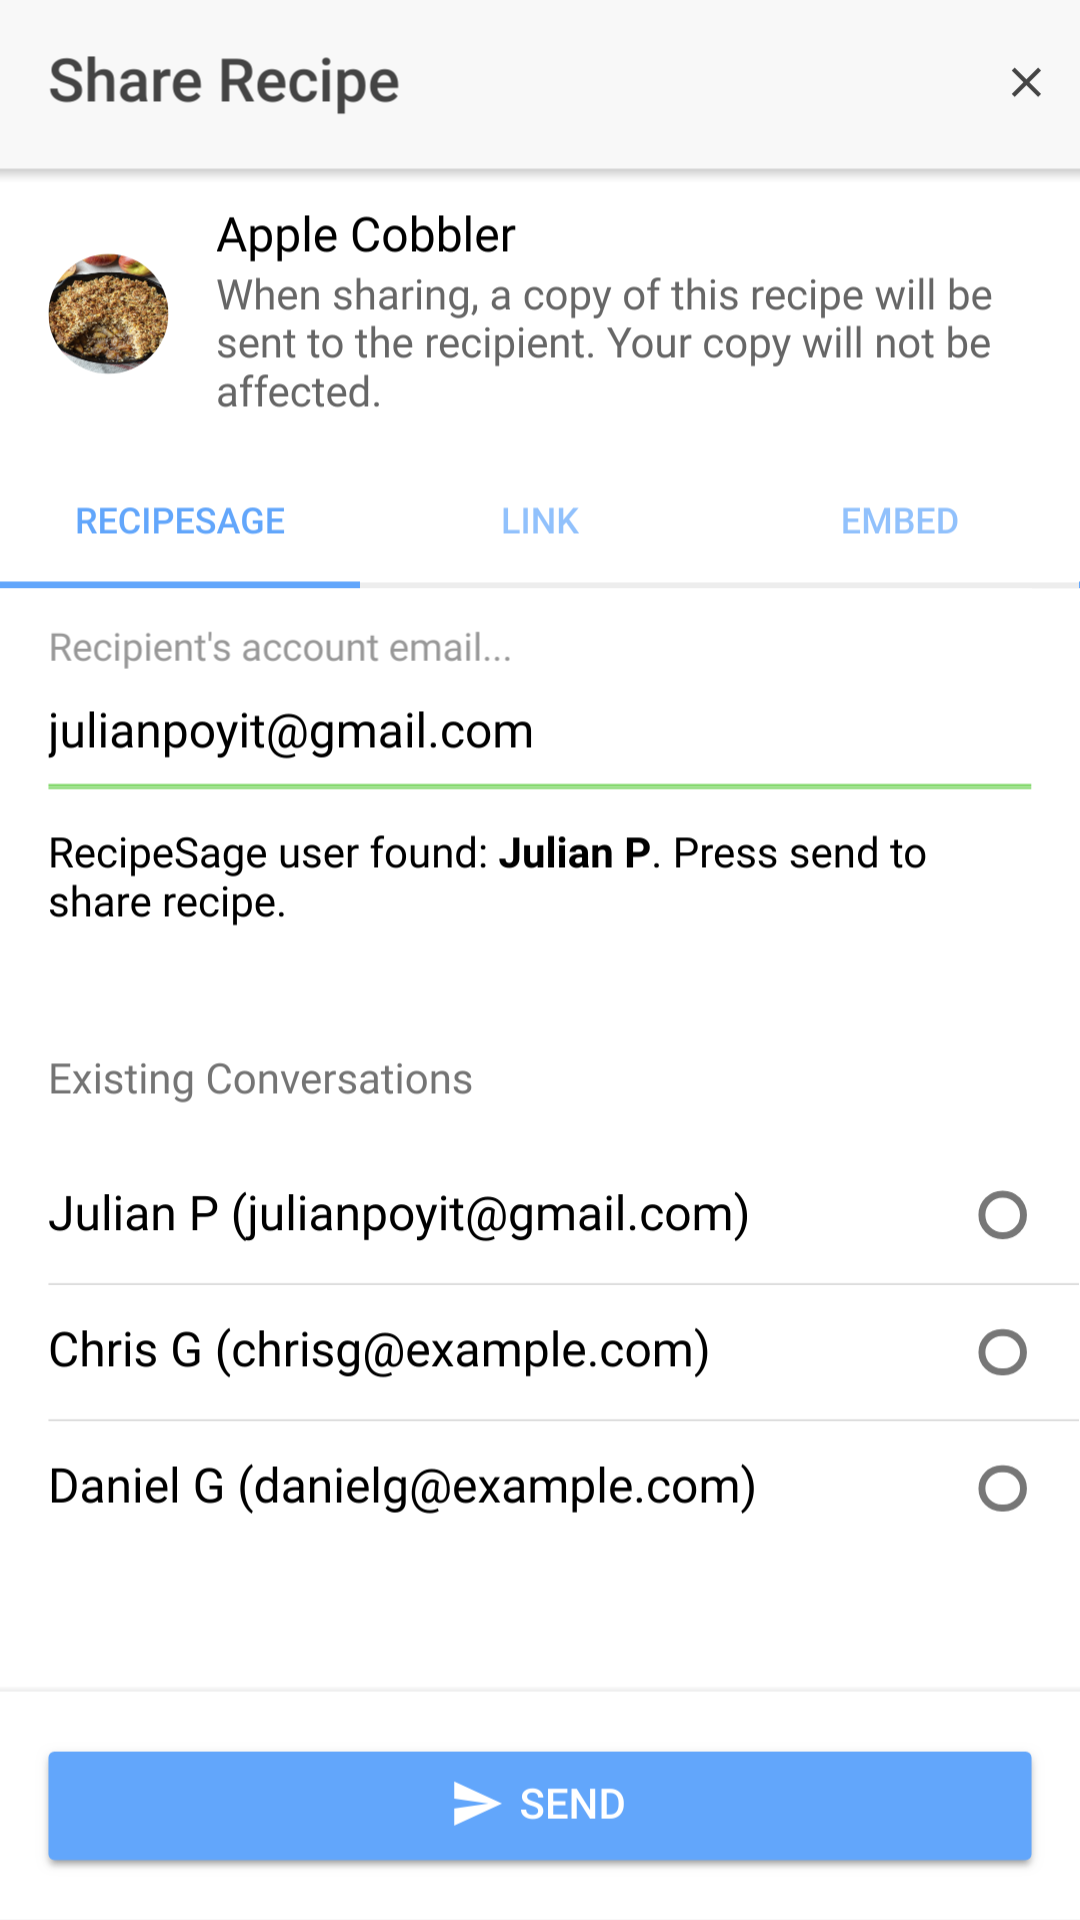
The recipe sharing modal allows you to send a recipe to another RecipeSage user's account, share via link, or share via embed.
To begin the process of sharing a recipe to another user's account, press the share button at the bottom of the recipe details page (as described in the recipe actions tutorial). You'll then be presented with the share modal shown in the image above.
To select a recipient, type the email of the RecipeSage user you'd like to send the recipe to in the field recipient email field. The status below the field will update as you type. It will either report that the user was found (and will show their nickname), or it will report that no user was found with that email address.
You can also select the recipient from your list of existing conversations if you already have an existing message thread with the user (this list will not be shown if you do not have at least one existing message thread with another user).
After selecting the recipient user via either method, you'll be able to press the send button. After sending, a copy of the recipe will be sent to the recipient. Keep in mind that any modifications that they do to the received copy will not affect your copy of the recipe.
Note: To send the recipe to a non-RecipeSage user, see below (sharing a recipe by link).
By Link
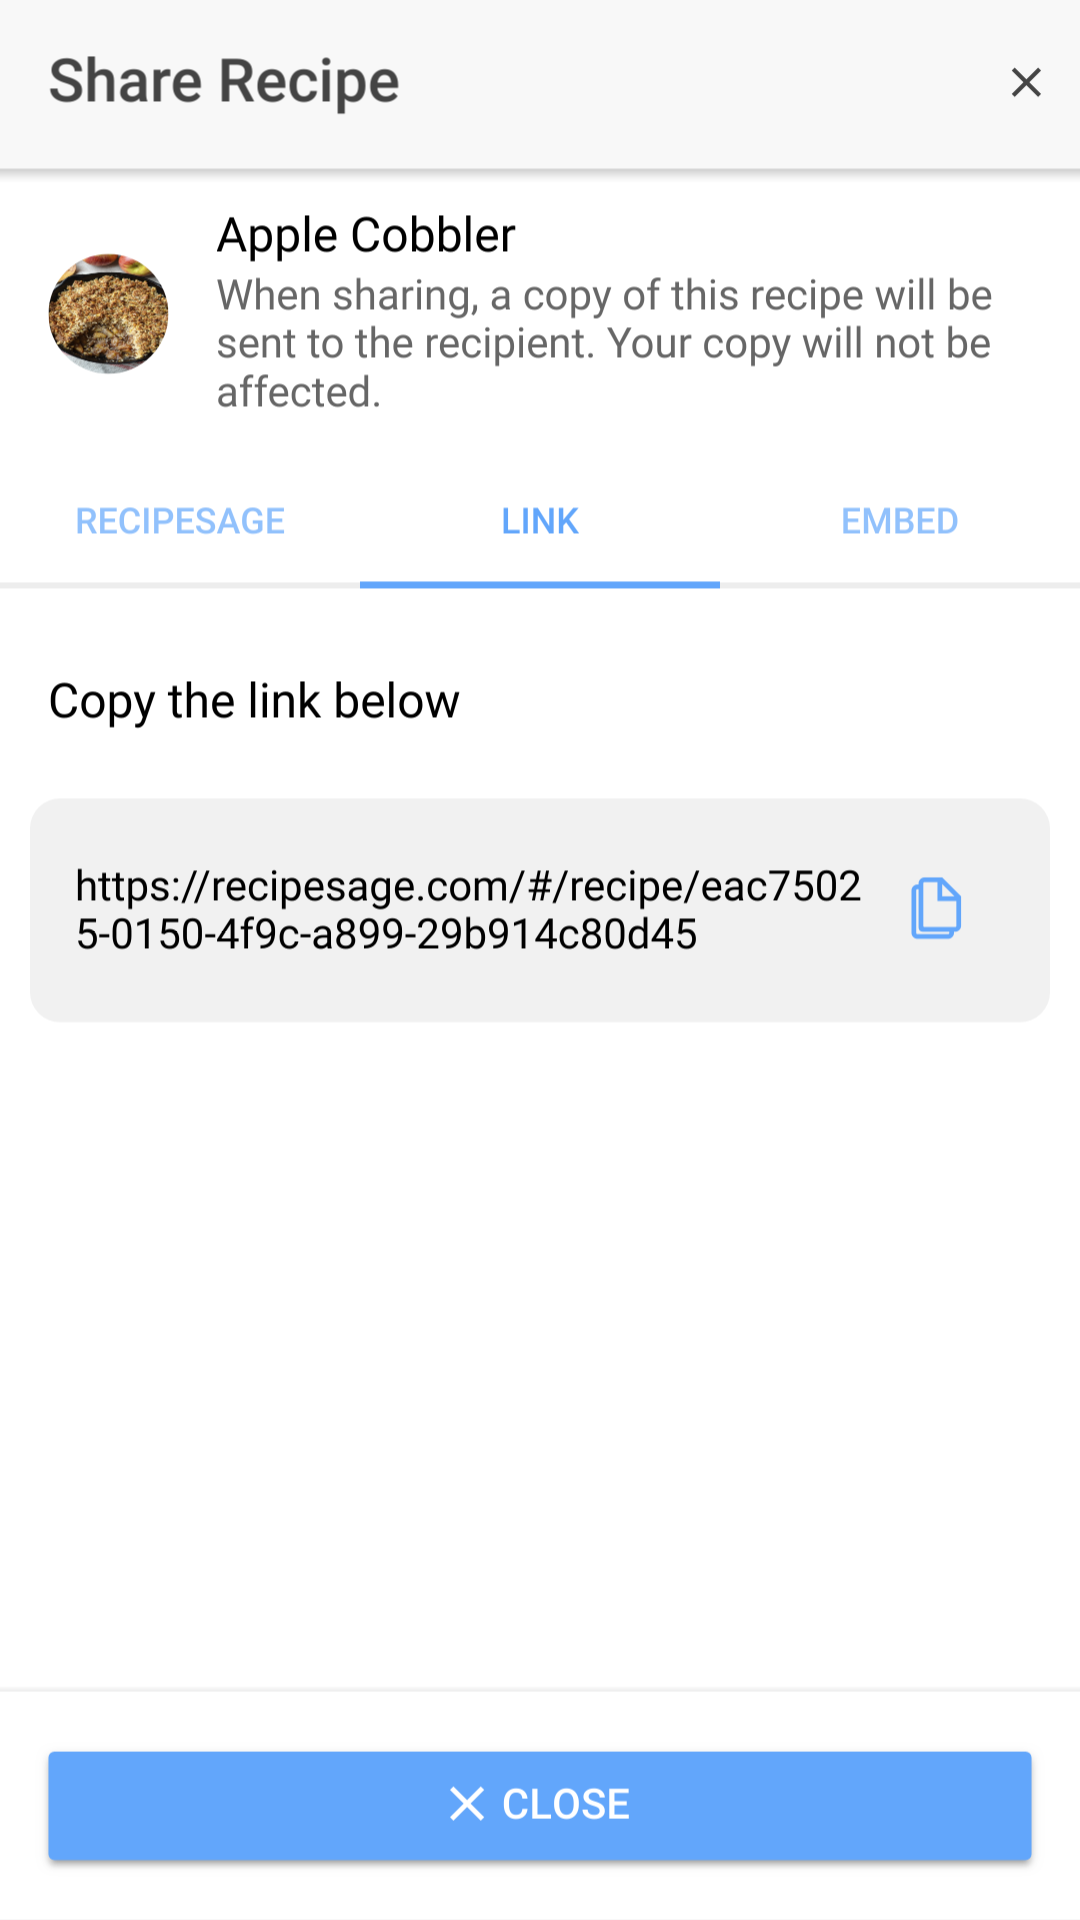
The recipe sharing modal allows you to send a recipe to another RecipeSage user's account, share via link, or share via embed.
To begin the process of sharing a recipe via link, press the share button at the bottom of the recipe details page (as described in the recipe actions tutorial). You'll then be presented with the share modal. To share by URL, select the "link" tab.
Select the URL shown (double click to select for desktop, or tap-and-hold to select for mobile) and then copy/paste wherever desired.
Note: The share button depicted to the right of the URL will only show up on some devices.
Note: This URL will only be valid if the recipe exists. If you delete the recipe, the link will become invalid.
By Embed
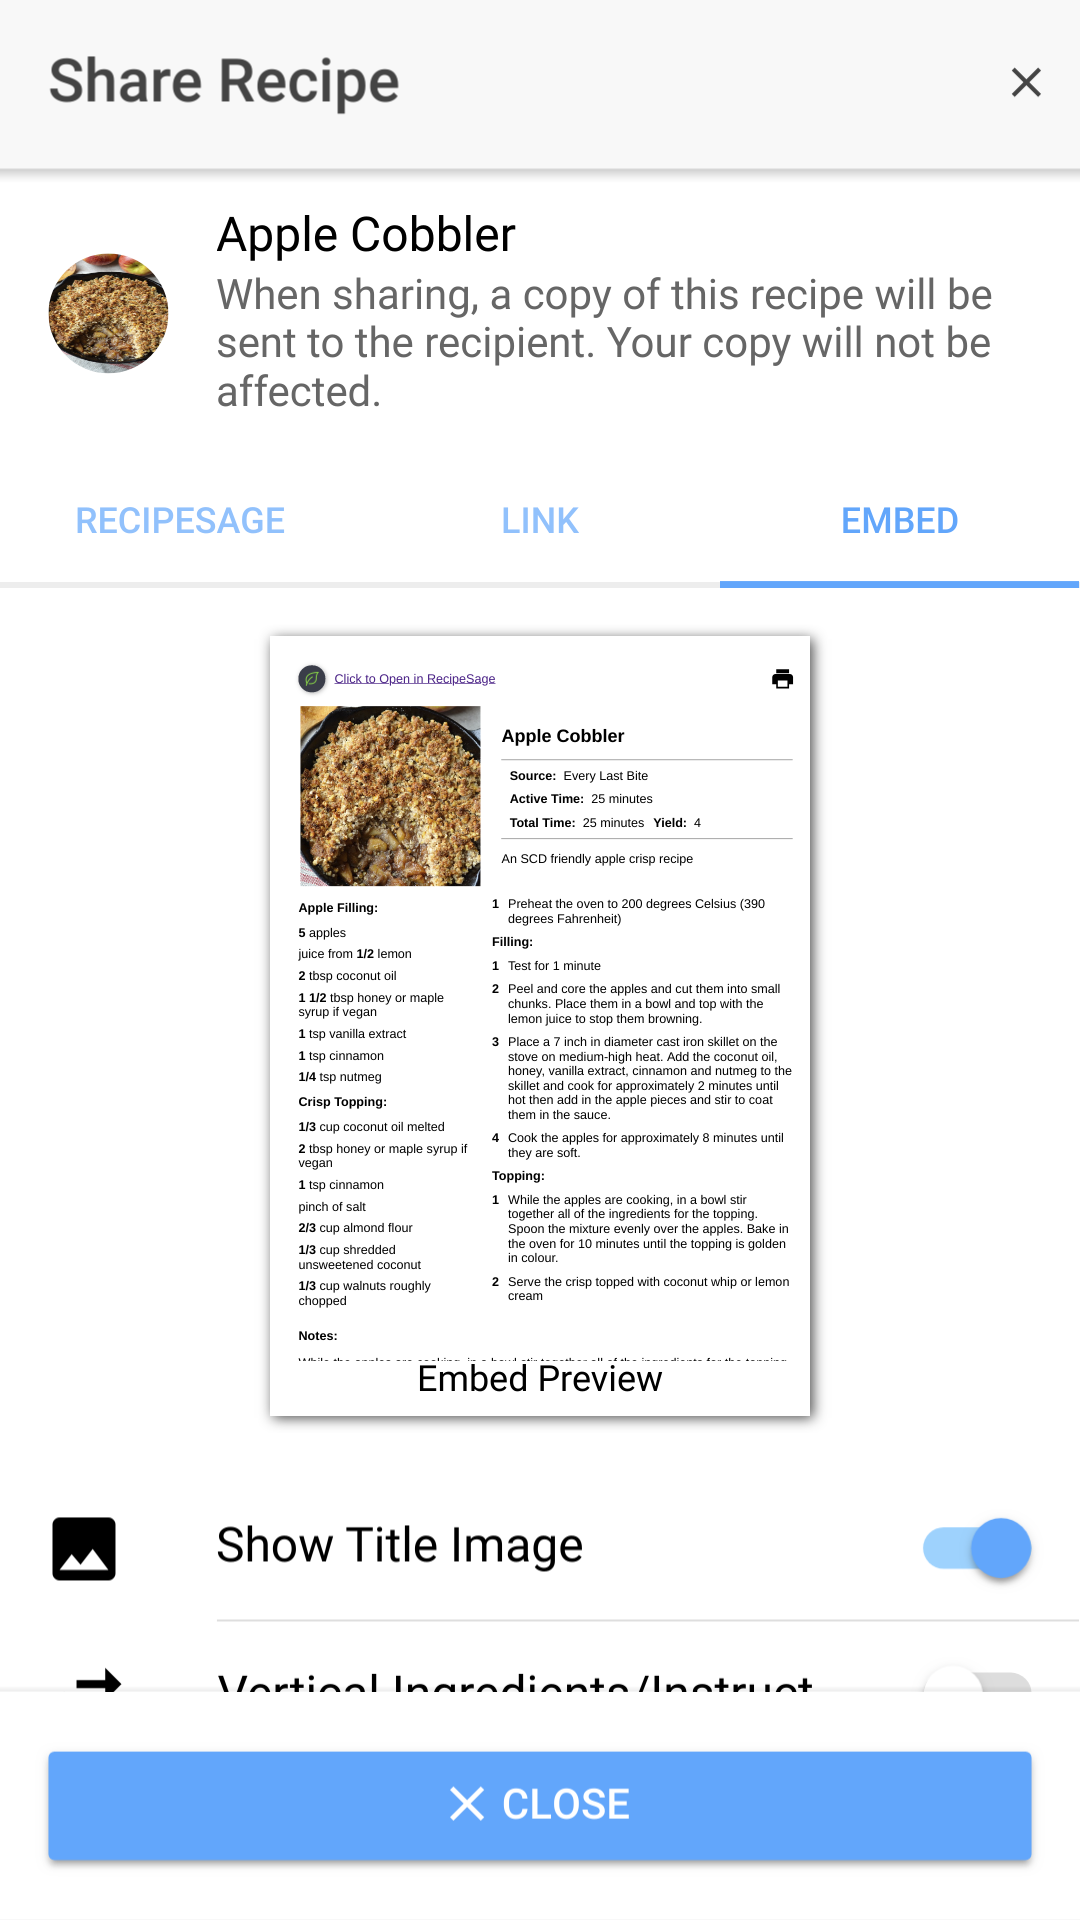
The recipe sharing modal allows you to send a recipe to another RecipeSage user's account, share via link, or share via embed.
To begin the process of sharing a recipe via embed, press the share button at the bottom of the recipe details page (as described in the recipe actions tutorial). You'll then be presented with the share modal. To share by embed, select the "embed" tab.
Select the options desired, as described below: Show Title Image: Toggling this will enable or disable the display of the image associated with the recipe. Disable Columns: Toggling this will switch the embed between vertical and column-based ingredient/instruction layout. Show Print Button: Toggling this will show or hide the print button within the embed. Hide Sources: Toggling this will show or hide the recipe source and source URL. Hide Notes: Toggling this will show or hide the recipe notes. Height: This will adjust the size of the window when embedded. Note: This will not change the appearance of the preview Width: This will adjust the size of the window when embedded. Note: This will not change the appearance of the preview
After you've selected the desired options, copy the provided code and paste it anywhere within the body of your webpage, blog post, etc.
Printing
Note: If you're looking for how to print all recipes, see 📖 Printing All Recipes or Exporting All Recipes to PDF instead.
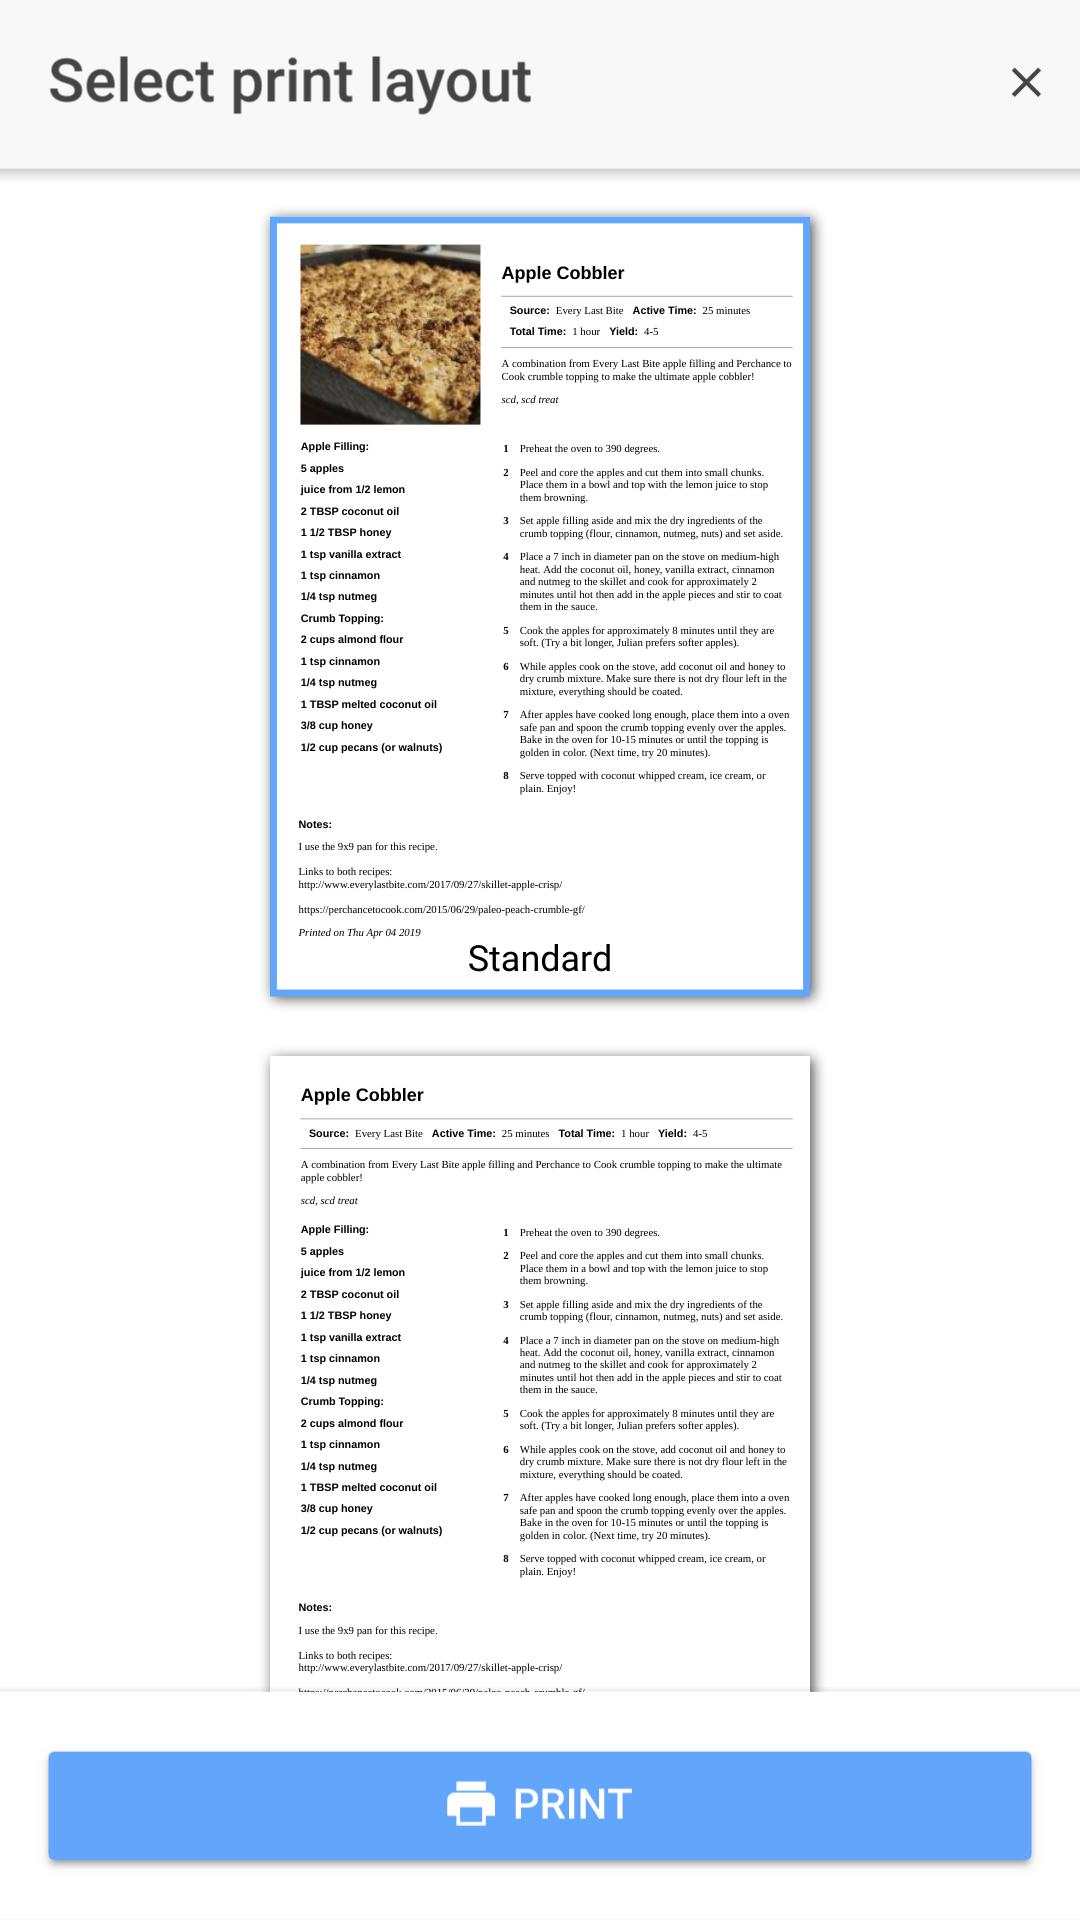
The print recipe modal allows you to print a hardcopy of your recipe.
To begin the process of printing a recipe, press the print button at the bottom of the recipe details page (as described in the recipe actions tutorial). You'll then be presented with the print layout modal shown in the image above.
To select a print layout, click the desired layout displayed in the layout list.
After selecting a print layout, you'll be able to press the print button. The print button will trigger your system print dialogue.
In your system print dialogue, you can adjust margins, change color settings and select your printer. Depending on your browser and operating system version, your system print dialogue will look vastly different, therefore no screenshot is shown for this step.
Note: If you have trouble using this feature, try using Firefox or Chrome. Other browsers may not perform the same.